

Microsoft Forms: Guide in 6 Steps to Create Your Surveys
Microsoft Forms is a Microsoft 365 application designed to simplify data collection, assess knowledge, and analyze feedback, all in a single intuitive and customizable platform.
In this article, we will explore how to create a Forms survey, covering features such as multiple-choice questions, rating scales, and branching.
We will also look at how to customize the design to enhance corporate branding and how to integrate a Microsoft Forms module with Teams, SharePoint Online, Outlook, Stream, and Power Automate to optimize workflow and increase audience engagement.

What is Microsoft Forms and how it works
Microsoft Forms is the Microsoft 365 application that helps users create, publish, and distribute custom forms, from surveys to measure customer satisfaction to quizzes that assess students' knowledge.
This application can be useful for anyone looking to communicate directly with their audience, gathering valuable insights on their engagement, knowledge of specific topics, or opinions on a particular subject.
Forms allows users to create and share forms via link, QR code, email, and, of course, through Microsoft Teams chat or SharePoint pages such as the company intranet, making it easier to reach a wide audience with surveys.
With Forms, it is also possible to collect registrations or feedback on events and initiatives. For example, a company could launch a poll with different options for organizing an office day, collect employees' feedback, and address their needs without sending a single email. The collected data can then be automatically transformed into charts for an initial visual analysis and exported to Excel for further insights.
Another example could be publishing a survey to gather specific suggestions for resolving complex issues, such as widespread dissatisfaction with an extracurricular course or the lack of adoption of a new intranet. In fact, the collected responses help improve the user experience within organizations, regardless of their industry.
In short, wherever there are unanswered questions, Microsoft Forms is the key to collecting and processing – even visually – data from your communities.
Microsoft Forms: ensure your teams are heard
Forms is available for Office 365 Education and Microsoft 365 Apps for Business customers, as well as for users with a Microsoft account (Hotmail, Live, or Outlook.com). However, it is important to note that the maximum number of forms you can create and responses you can collect varies depending on the type of customer account.
Here are the details:
- Office 365 Education and Microsoft 365 Apps for Business customers:
- 400 active forms
- 50,000 responses per form
- Users with a Microsoft account (Hotmail, Live, or Outlook.com):
- 200 active forms
- 1,000 responses per form (paid accounts)
- 200 responses per form (free accounts)
A little trick? Just export the collected data to Excel and delete it from the corresponding form in Forms to free up space and collect more responses than your account limit allows.
Regarding user access, the app is automatically activated for all users in the organization. However, IT admins can change this default setting and enable access only for specific user groups.
To do so, they must follow these steps:
- Access the Microsoft 365 admin center.
- Click on "Users" and then "Active".
- Select the checkbox next to the user you want to exclude from using the app.
- Click on "Manage product licenses".
- Expand the list of apps included in company licenses and uncheck the box for Microsoft Forms.
This way, the organization can control access to surveys and data analysis features while keeping sensitive information secure.
Speaking of privacy, it is worth mentioning that Microsoft Forms surveys are configured to collect responses anonymously. If it is necessary to know the names of respondents, the only solution is to include a dedicated text box in the survey for users to enter their name and surname.
Additionally, regarding access to forms, it is important to note that external users can also participate. To enable this, go to the app settings and select the option that best defines your target audience.
The options are:
- Anyone
- Only people in your organization
- Specific people in your organization
To poll external users such as customers, suppliers, or parents of students, select the first option.
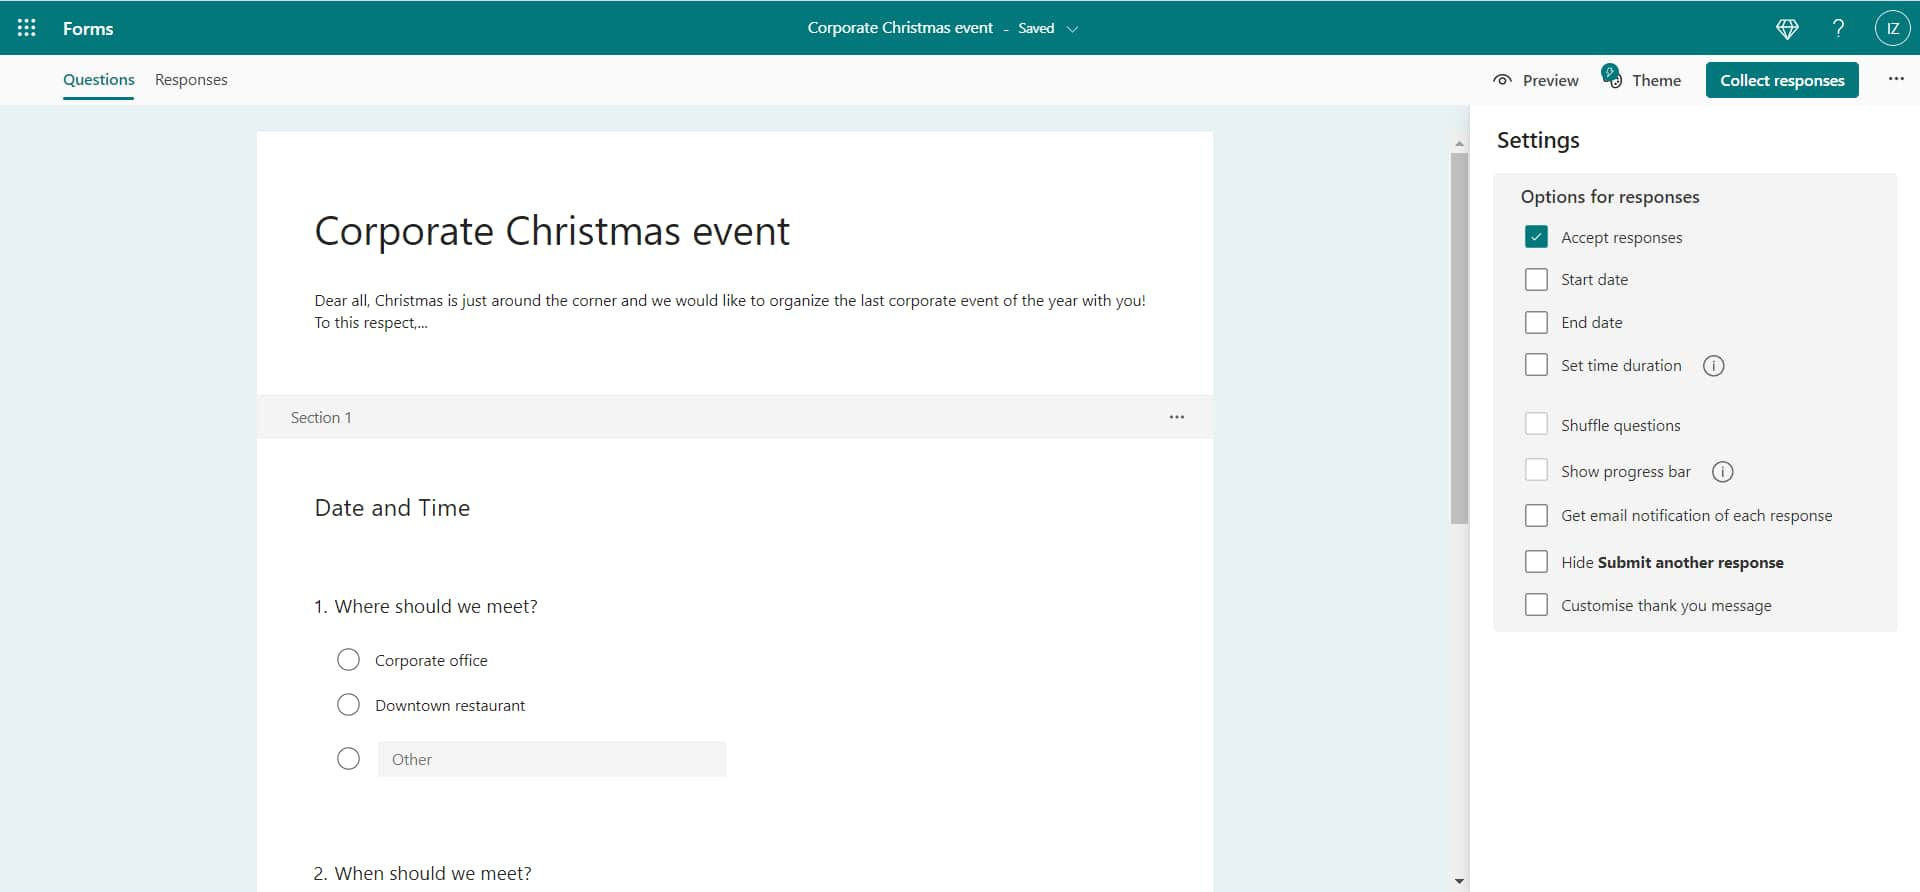
Besides defining the audience, the settings section can also be used to set an expiration date after which the survey will close, or to activate the option to show respondents the correct answers.
The latter is particularly useful when distributing multiple-choice tests, allowing participants to see the correct option immediately after submitting their answer.
Additionally, you can enable the progress bar, which will show users their progress within the survey. This is another important feature to include in assessment tests, helping participants manage their time effectively. It can also be useful for motivating those who often abandon polls when they do not see an end in sight.
Two more actions are available in the app’s personal settings:
- Create a thank-you message to acknowledge the time and effort respondents have spent answering the survey.
- Enable response notifications. With this feature, you can receive an alert every time your survey is completed. This makes it easier to monitor participation levels – and encourage more responses if needed.

What is intranet.ai?
intranet.ai is the ready-to-use corporate intranet designed to cut implementation costs and time, and create a collaborative and modern digital work environment:
- From €3,650/year for a complete intranet
- 50+ applications, including advanced search, document management system, push notifications via Teams, organization chart, personnel profile and FAQ pages
- Integrated with SharePoint Online and Microsoft 365
How to create a survey with Microsoft Forms
As we have seen, Microsoft Forms is a versatile and intuitive tool, ideal for creating customized forms to collect feedback, responses, and opinions.
In just a short time, anyone can create a survey tailored to their audience, ready to be shared and completed on any device.
Let's now look at the 6 basic steps to create a form using Forms in Microsoft 365.
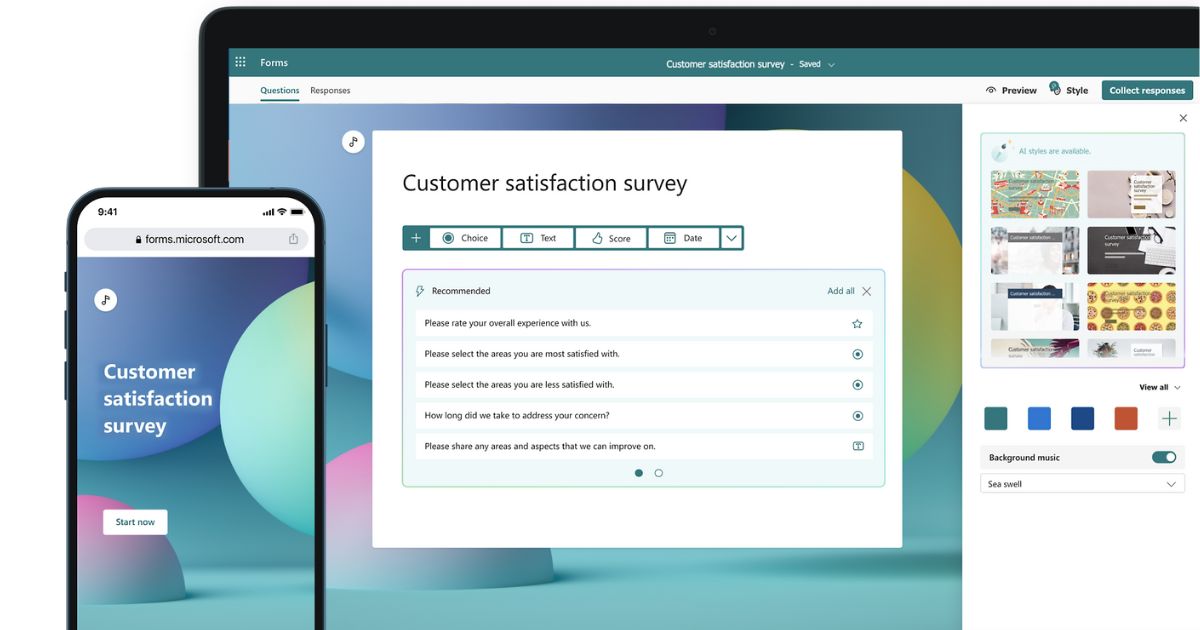
Overview of Microsoft Forms
Step 1: create the file
First, you need to access Microsoft Forms and go to the application's home page, where you will need to choose whether to:
- Create a form from scratch.
- Use one of the available templates.
To proceed with our example, we will create a new form from scratch by selecting New Form or New Quiz. This will create a blank file, to which we need to assign a name and write a brief introduction useful for recipients.
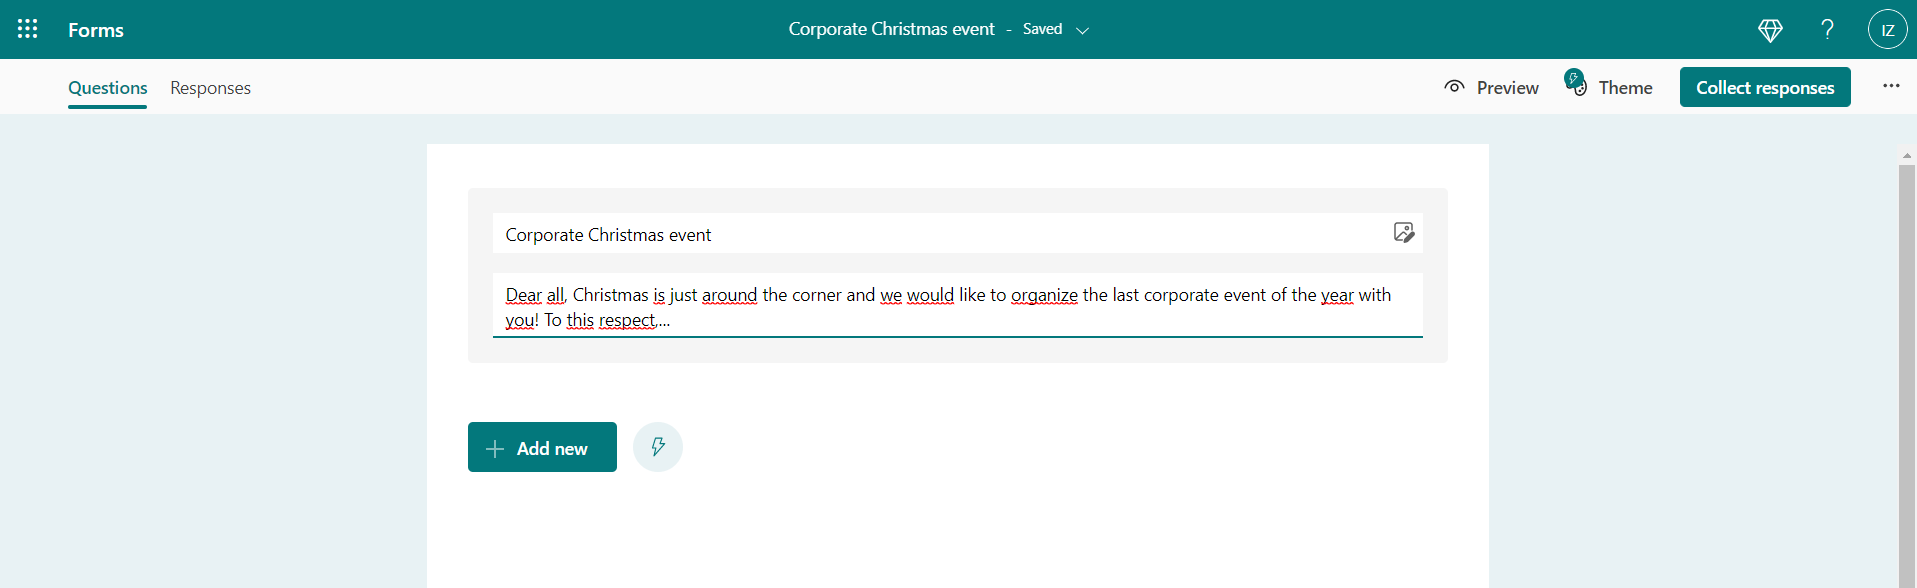
Writing the title and description of a new form in Microsoft Forms
Step 2: structure the form
Forms allows you to create a survey in a simple and flexible way, using different types of questions and thematic macro-sections. These sections are useful for grouping multiple questions related to the same topic.
For example, we could group all the questions related to how often periodic meetings should be scheduled or define the day and time of an event.
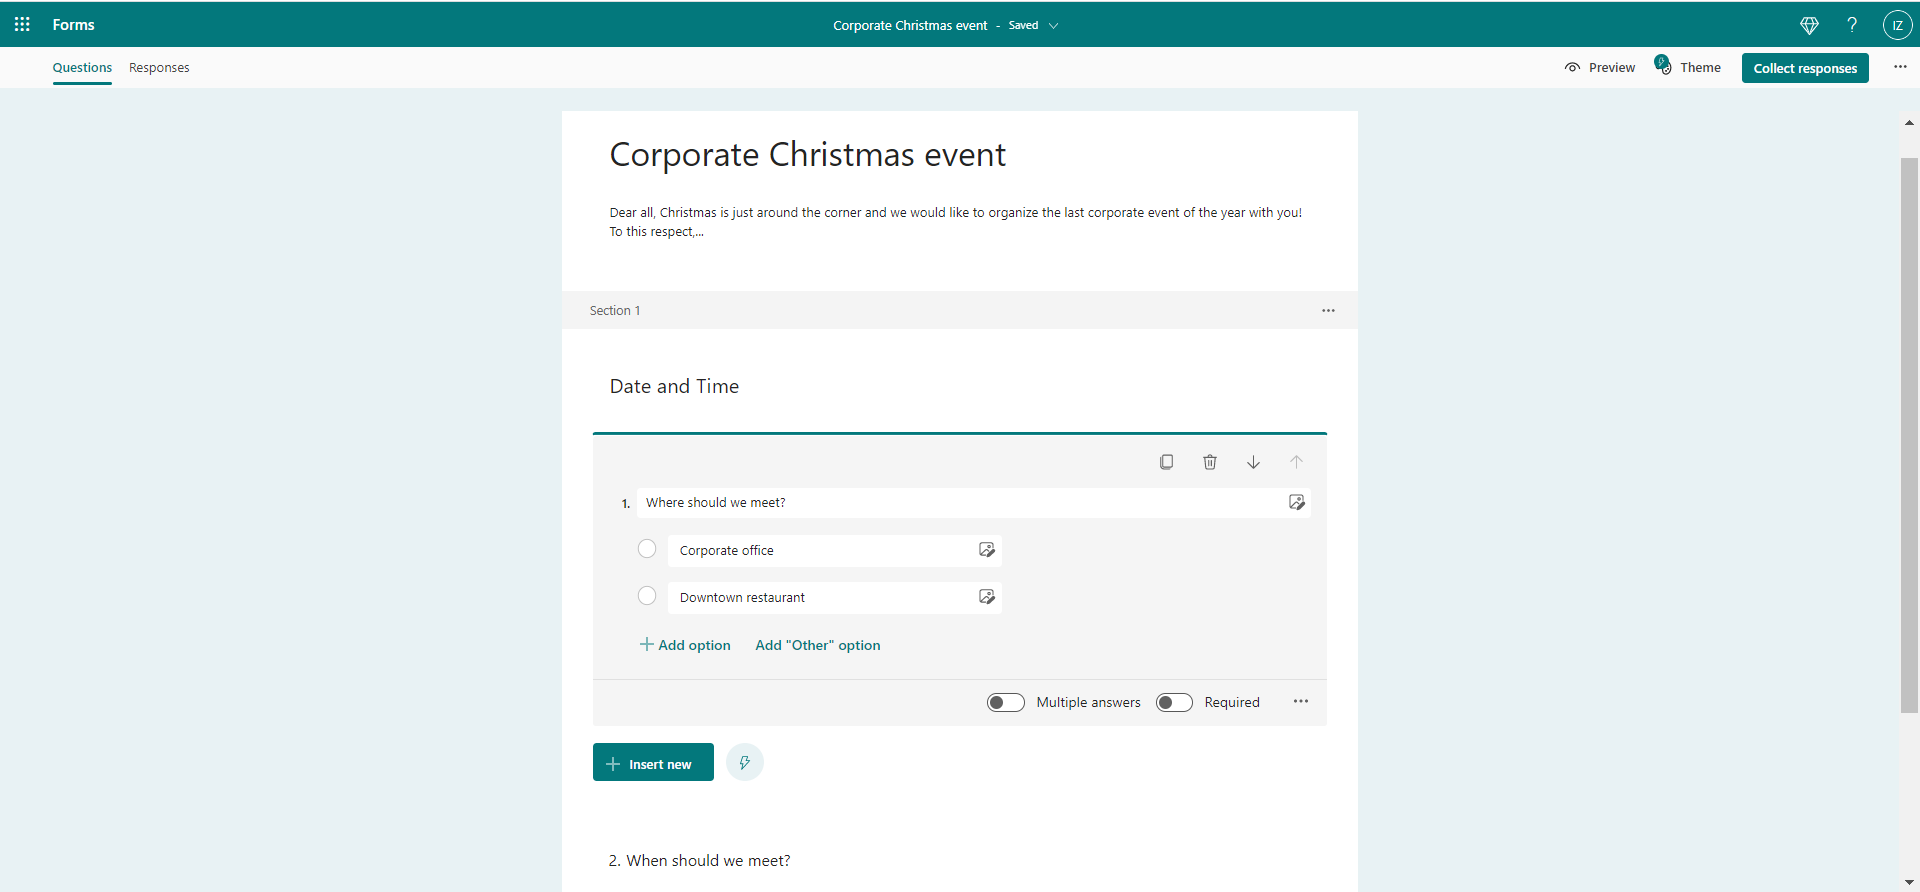
Creating a thematic section in a Microsoft Forms form
Within each section, it is possible to insert a virtually unlimited number of questions, choosing from:
- Open-ended questions
- Single-choice questions
- Multiple-choice questions
- Graded rating table
- Questions requiring a date entry
- Questions with a rating scale response (5-star scale, 0-10, etc.)
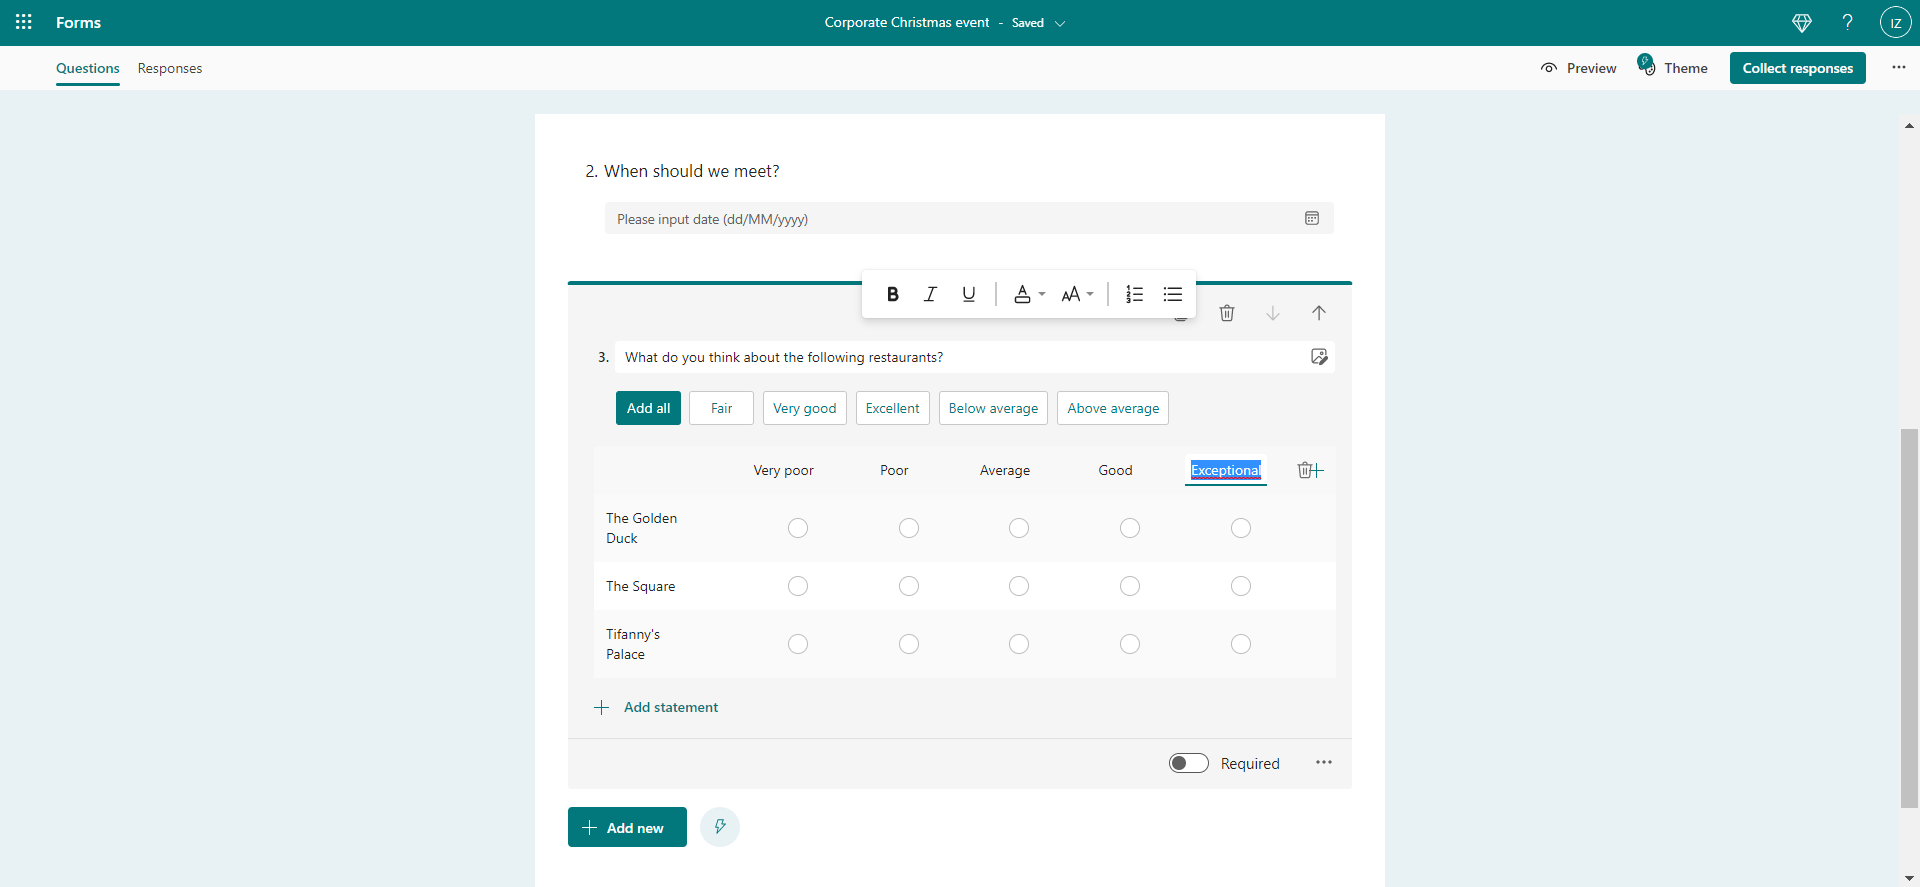
Inserting a rating table in a Microsoft Forms form
Step 3: linear, random, or branching path?
Forms allows you to present the sequence of questions exactly in the order in which they were entered in the survey, or not. If you want to maintain the order in which the questions were created, no action is needed: the path is linear by default.
But we can choose to present the questions in two alternative ways:
- Random. The random path ensures that each respondent receives the questions in a different order compared to the others. This is a useful feature for educational assessments, but also for those interested in experimenting with more psychological surveys. To enable random mode, just go to the settings and select Shuffle Questions.
Setting a random user path with Shuffle Questions in Microsoft Forms
- Branching. In this case, the user path will not be random but will follow a linearity based on relevance rather than time. What does this mean? In short, it is possible to link an answer to a question that is not directly next in sequence, but rather more relevant. Let’s clarify with an example: if a user selects the answer "Never" to the question "How often do you use our product?", it becomes pointless to follow up with the question "What do you like most about our product?". Instead, it makes more sense to ask, "How could we improve the product?". Each user can thus follow a personalized path, composed of questions that are more relevant to their own experience as a customer, supplier, etc. To branch the form, simply choose the Add branching option in the three dots at the bottom right of one of the questions. Then, select the answer from which to start branching and choose the question to redirect the user to.
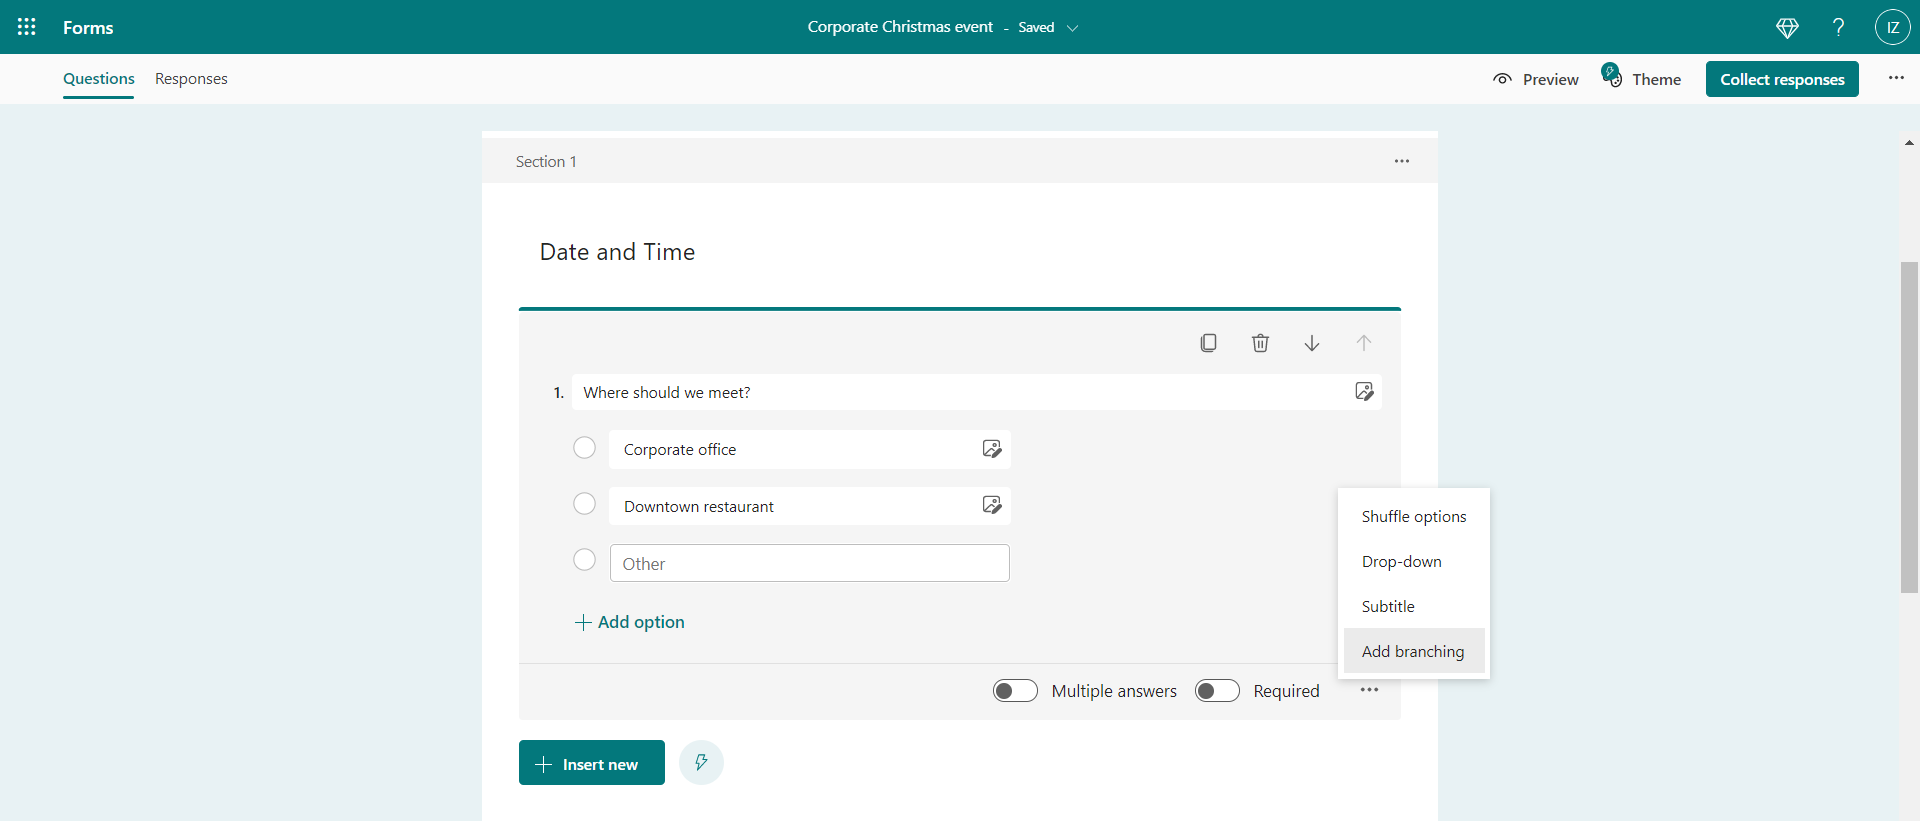
Building a branching user journey with Add Branching in Microsoft Forms
Step 4: customize the graphics
Microsoft always strives to give us the ability to personalize files and content with a style that best represents us, both as individuals and as a corporate community. Forms is no exception.
Like all applications in the Microsoft 365 suite, Forms also allows you to create customized graphic themes or upload a pre-designed one for your brand.
To do this, simply select the "Themes" option at the top right, scroll to the end of the side window that opens, and select Customized Theme.
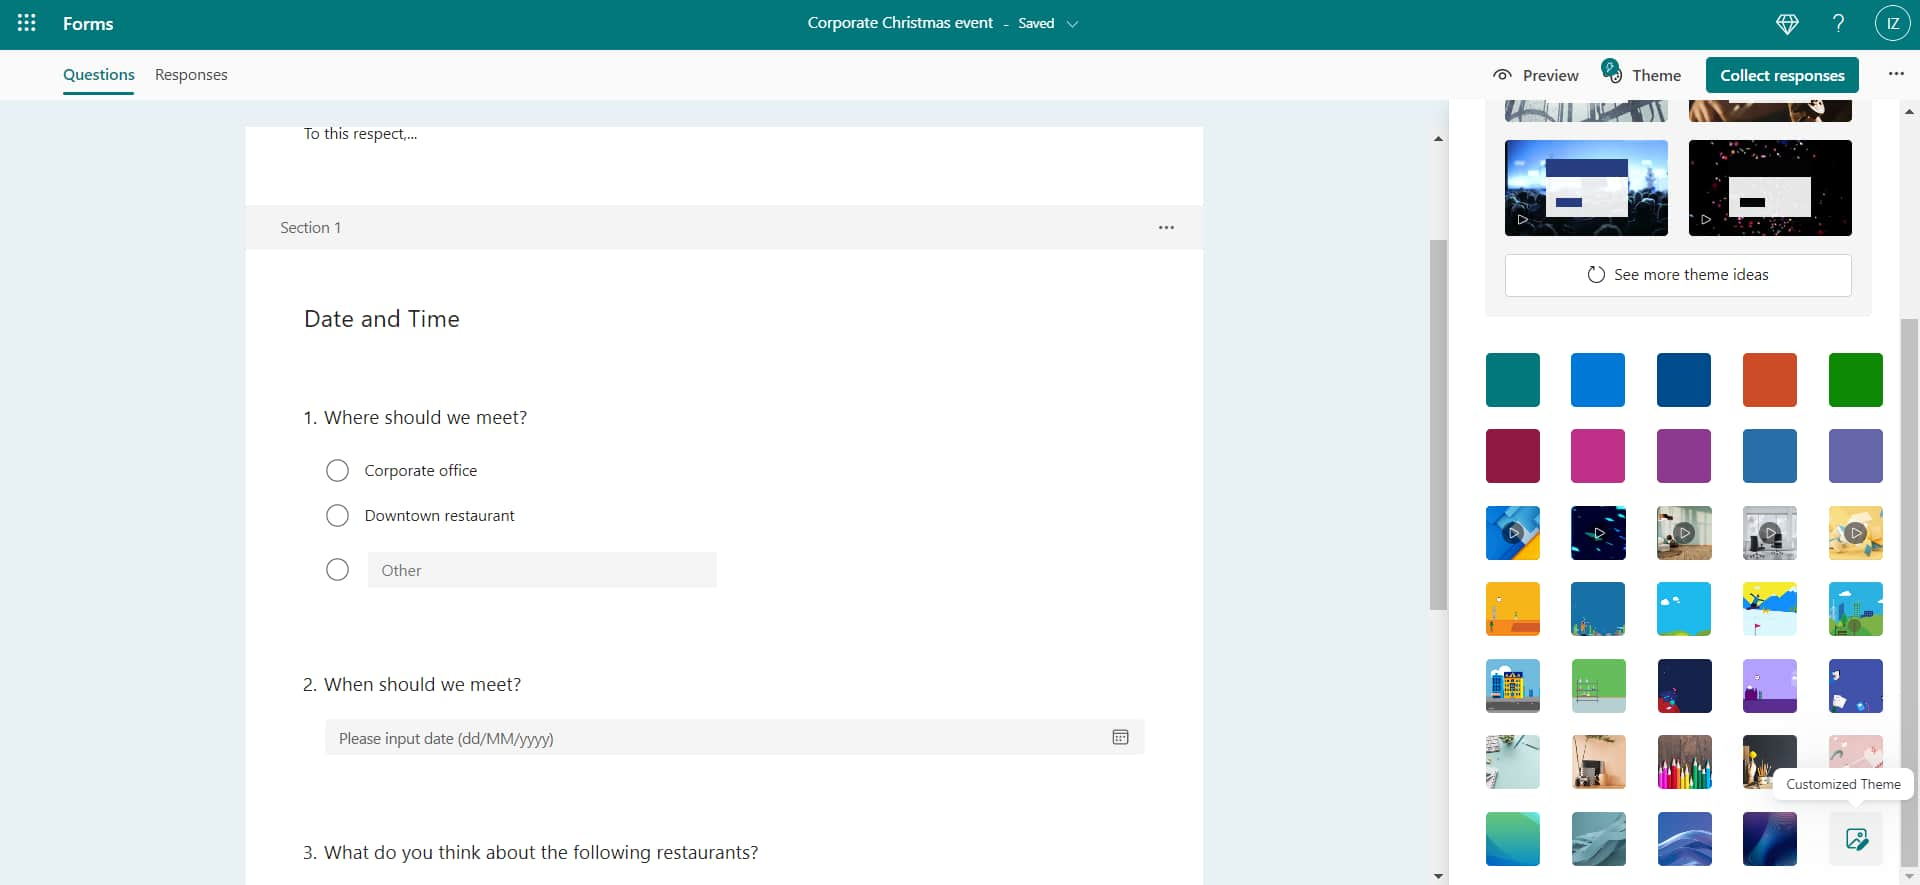
Adding a customized theme to a Microsoft Forms module
If you don’t have a ready-to-use graphic kit, Forms will assist you by offering a carousel filled with color palettes and templates – some even featuring animations – to better define the identity of your poll and make it more appealing to the audience.
Step 5: evaluate the result with the preview
To avoid publishing or sharing a form with errors or imperfections, Forms provides a preview mode. By clicking on Preview in the top right corner, the survey is displayed exactly as it will appear to the target audience.
But that’s not all: you can switch from desktop mode to mobile mode to view the form in both versions and check if its layout is compatible with any device. In general, special attention should be paid to images and how their arrangement changes from PC to phone or tablet.
Finally, the preview feature is useful for testing the form’s branching, interacting with the questions to see if the redirection actually works.
Step 6: share with colleagues
If everything looks fine in the preview, we can decide whether to publish the form and start collecting the feedback we are interested in or share it as a template with other users.
One option does not exclude the other. If we want to publish the survey, we just need to select the Collect Responses command in the top right corner and then choose how to distribute it. Among the available options, we have:
- QR code
- Social media
- Code to embed in a web page or Sway
We can also copy the link and share it through any communication channel, such as Microsoft Teams or WhatsApp chat.
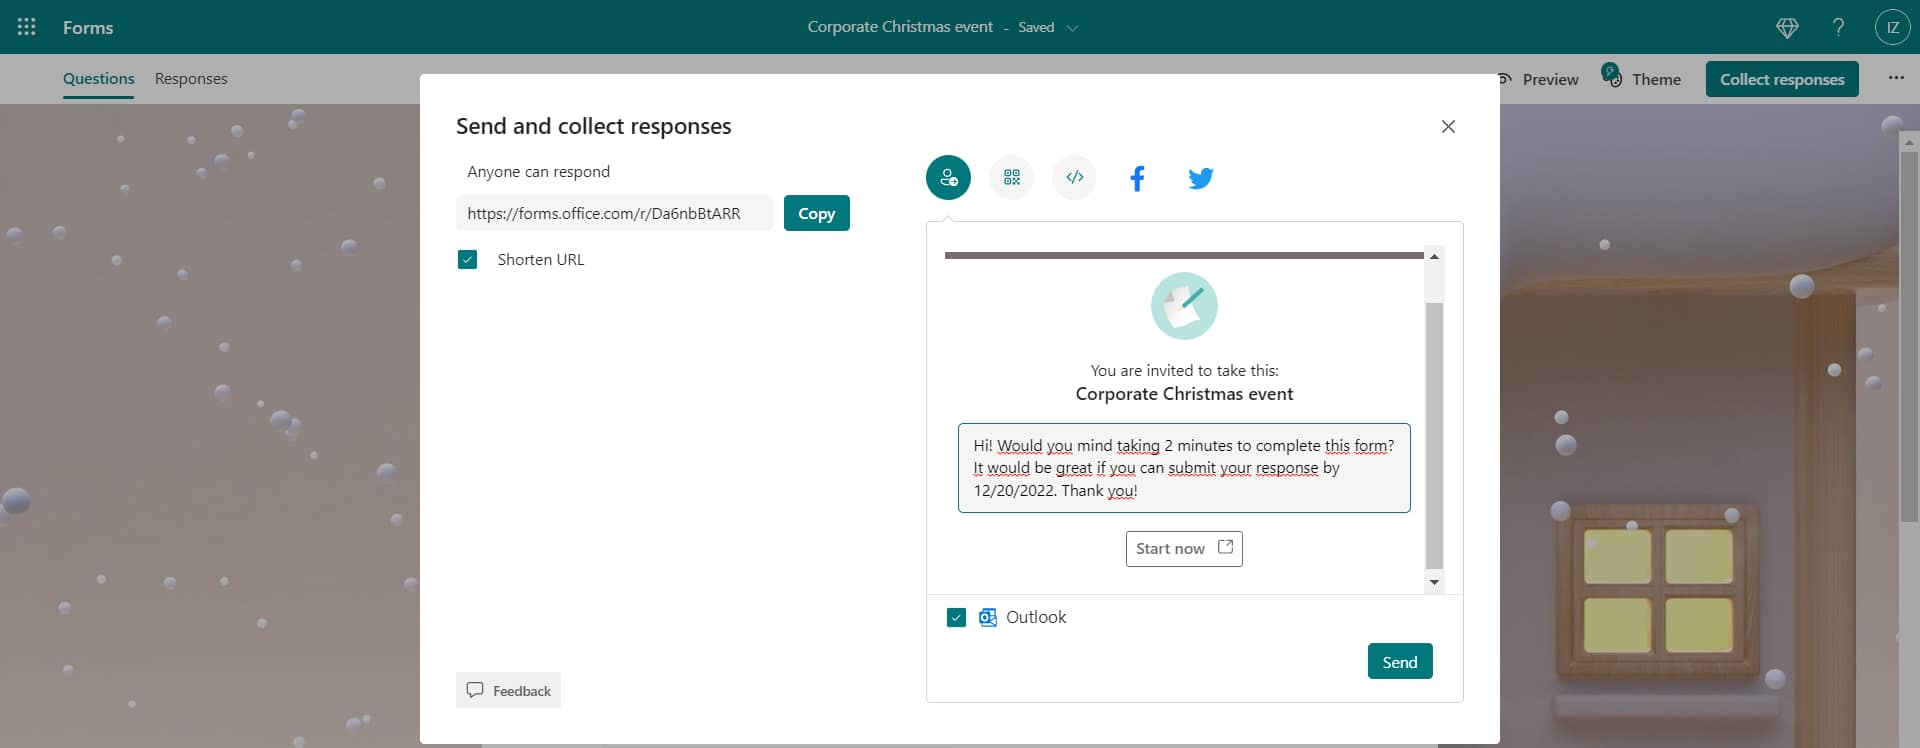
Publishing your Microsoft Forms form
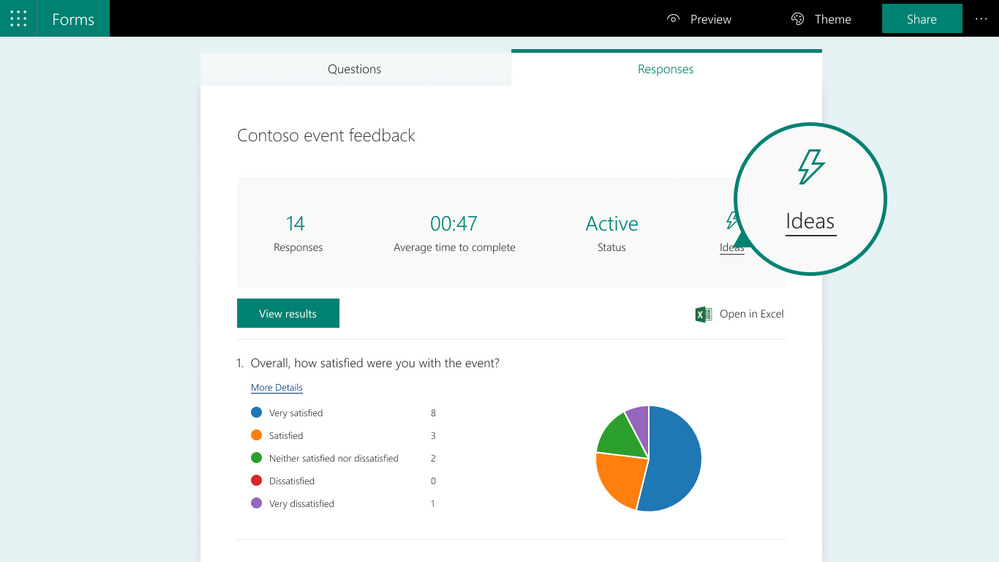
Once published, the form will start collecting user responses and making them available in the Responses section at the top left. Here, we can view useful data and insights such as the number of times the survey has been completed, the average time users take to finish it, and its status (active or expired).
A pie chart is also displayed, summarizing the responses obtained for each question. This allows us to quickly assess the number of correct answers provided by users or identify the most preferred option.
By clicking on "More Details," it is possible to analyze individual questions and view the names of users (if requested) along with the option each of them selected.
We can also choose to export the data to Excel. In this case, simply select "Open in Excel" to be redirected to a pre-configured pivot table containing all the form responses. This integration is highly useful for conducting deeper data analysis, reprocessing the information into different types of charts, or enriching it with additional data from external sources.
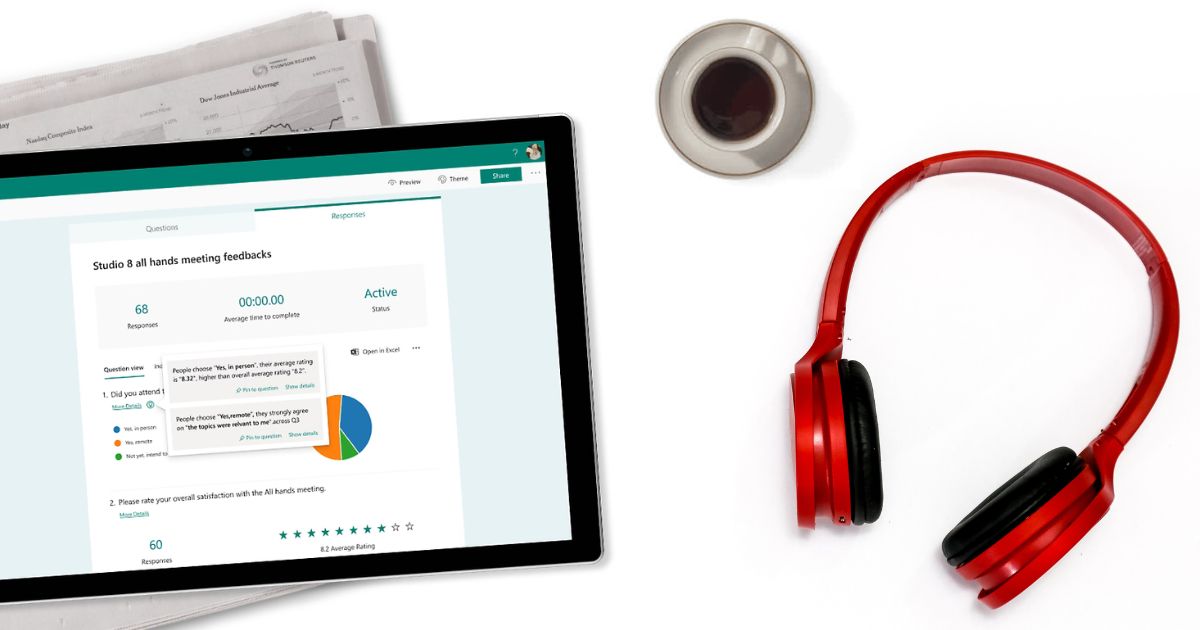
Finally, Forms provides the Ideas feature. This is a recent addition to the app, designed to help users gain new and unexpected insights from their surveys and polls. Ideas automatically generates a series of charts to present different interpretations of the collected data, offering new perspectives.
For example, a user might receive a chart showing the satisfaction level indicated by respondents, categorized by their department or class. This way, it becomes possible to observe whether a particular department or student group has a lower satisfaction level compared to other participants.
By analyzing this, one might conclude that the corporate event or school course being surveyed fails to engage that specific audience segment. Perhaps because the topics covered are not relevant to their needs.
Forms thus helps to identify potential issues and understand how to address them based on feedback from the people directly involved.
Analyzing data and gain unexpected insights in Microsoft Forms
Regarding form sharing, Microsoft Forms allows users to duplicate the survey and send it to other members of the organization, who can access the file and use it as a base to create new polls. The goal is to provide a custom template with the company’s branding, ensuring visual consistency and avoiding the need to create a custom form from scratch every time.
Microsoft Forms: How does it integrate with other Microsoft apps?
From this brief overview, we have explored what Microsoft Forms is, its main features, and how it can help companies connect with their people, enhancing their daily experience with strategies based on their feedback. However, an important piece is still missing from the puzzle we have put together: integration possibilities.
As we all know, one of Microsoft’s priorities is to provide organizations with a single digital work environment where data and content flow securely from one application to another. This fluidity is made possible precisely thanks to the native integration that connects all Microsoft products.
Forms, too, has its own integration capabilities, involving tools such as SharePoint Online, Teams, Outlook, and Power Automate. Let's take a closer look at what these integrations entail below.
Microsoft Forms and SharePoint Online
To create a SharePoint site page such as the corporate intranet, various types of components are available. Among these, there is a specific web part for Microsoft Forms.
With the Forms web part, you can embed a poll into any site page, allowing users to access questions more easily. You can also display the results of a completed poll, both in numerical and graphical form.
This way, participants can view the overall performance and understand the most common opinions or how their responses fit into the broader picture.
Microsoft Forms: how to add a survey on SharePoint Online
Microsoft Forms and Outlook
Let's start by saying that you can insert a poll within an email in Outlook by clicking on the "Insert" button and selecting Polls. A side panel will then open, where you can enter a single-choice or multiple-choice question.
In practice, it is not possible to create a structured and complex survey directly from Outlook, but this integration is certainly useful for accompanying the text of an email and collecting feedback in less time.
On one hand, recipients can answer the questions without switching to the Forms interface; on the other hand, the sender can track the poll's progress in real time on Outlook.
Microsoft Forms and Microsoft Teams
Obviously, a tool like Forms cannot be missing from the ultimate collaboration app. To add it to the tabs in Microsoft Teams, simply click on the three dots below the text bar in any chat. Several applications will appear, including Polls. By selecting it, you can create a poll and post it within seconds in conversations with your colleagues.
Even though working with simpler polls compared to those you can create within Microsoft Forms may seem limiting, in most cases, it is all you need to quickly get a response and simplify decision-making.
However, if a more structured survey is needed, you can create it in the Forms app and share it via a link in any Microsoft Teams chat. Alternatively, you can add the poll as a tab within a group or channel.
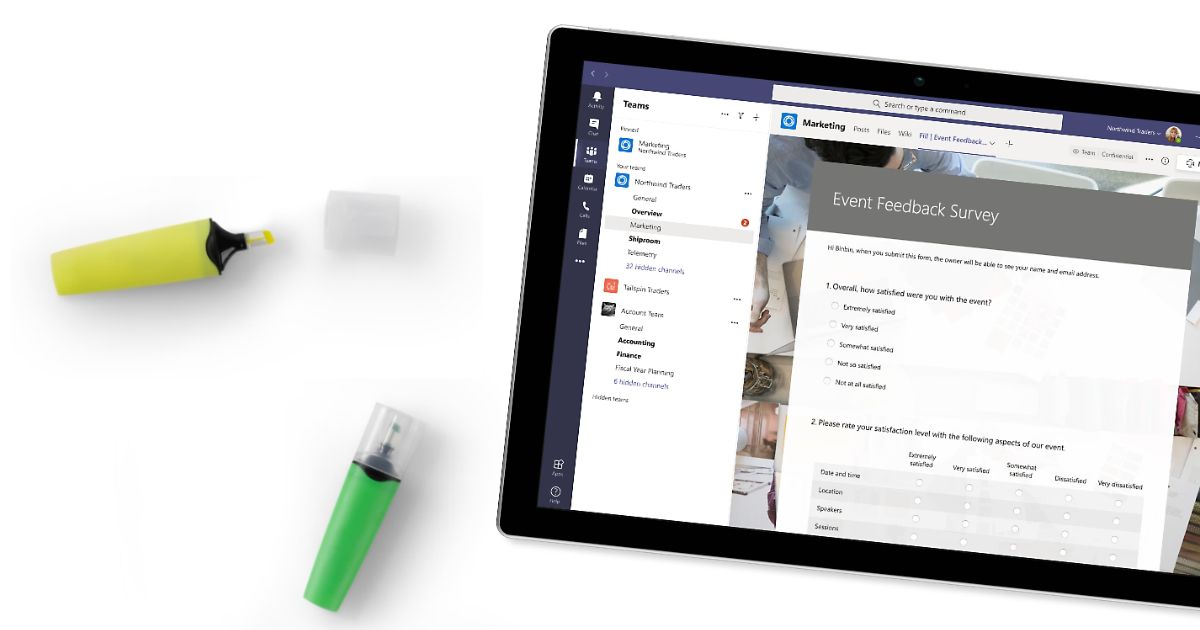
Sharing a Microsoft Forms form as a tab in Teams
Microsoft Forms and Power Automate
Another important integration involves Microsoft Power Platform’s Power Automate, enabling the integration of automation flows into Forms polls. This can be useful to ensure that a Forms module automatically responds to certain events occurring within it.
For example, if a user answers "Yes" to the question "Will you attend the next company webinar?", they will immediately receive an email with the link to join the live session.
To set up an automation flow of this type, follow these steps:
- Access Microsoft Power Automate.
- Select "Create" and then "Automated flow".
- Give the flow a name.
- In the section "Choose your flow’s trigger", choose one of the Forms-related options, such as "When a new response is submitted".
- Click "Create".
- In the "Form ID" section, enter the name of the form to be linked to the flow and select "New step".
- In the "Choose an action" section, choose the event that will trigger the flow, such as "Get response details". It is located in the "Actions" tab, next to the "Triggers" tab.
- Again, specify the reference form under "Form ID" and then select "Response ID".
- Click "New step".
- In "Search connectors and actions", under "Choose an action", select "Condition".
- In "Choose a value", specify the question linked to the automated email. In this case, select the question "Will you attend the next company webinar?".
- From the list that appears next to the question, select "is equal to" and then enter "Yes".
- In the "If yes" section, select "Add an action".
- In "Search connectors and actions", click "Choose an action" and specify "Send an email".
- In the "To" section, select "Responders’ Email".
- Write the body of the automated email.
With a bit of patience, you're all set.
Microsoft Forms and PowerPoint
Here is another integration option that allows you to insert a poll into a Microsoft PowerPoint presentation. To do this, simply click on "Insert" among the tabs available in PowerPoint for each slide and select "Forms".
From there, you can choose to create a survey from scratch using "New Form" or "New Quiz", or add an existing form by selecting it from the window on the side, that is called My Forms.
PowerPoint allows you to edit the poll directly within its interface, provided you are using an updated version with a Microsoft 365 license. This eliminates the need to constantly switch between applications. Once the modifications are complete, you can share the presentation via Outlook, Teams, OneNote, and all other integrated apps.
It is worth noting that recipients will be able to interact with the poll directly from the slide where it is located. Meanwhile, the user who created the poll can monitor responses not only from the same My Forms section in PowerPoint but also from Microsoft Forms, ensuring complete control over the results.
Microsoft Forms and Microsoft Stream
We conclude with the integration of Forms, which allows you to insert a survey into multimedia content created with Microsoft Stream. The goal, in this case, is to increase audience engagement with instant questions and small interactive quizzes, interspersed throughout the entire video.
Here’s how to implement this integration:
- Access Microsoft Stream.
- In the "My Content" menu, select "Videos" and choose the video where you want to insert the form.
- In the "Form URL" section, paste the survey link.
- Enter the survey title in "Name your form".
- Position the form from the video command bar.
- Click on "Add to timeline".
Do you want a complete, ready-to-use intranet?
intranet.ai is the SharePoint Online-based solution for simplifying internal communication and digitizing business processes with minimal investment of time and money.
- 50+ features for communication and employee experience
- Branded design, customizable in every detail
- Full integration with Microsoft 365 and Viva
Giuseppe Marchi
Microsoft MVP for SharePoint and Microsoft 365 since 2010.
Giuseppe is the founder of intranet.ai and one of the top experts in Italy for all things Microsoft 365. For years, he has been helping companies build their digital workspace on Microsoft's cloud, curating the people experience.
He organizes monthly online events to update customers on what's new in Microsoft 365 and help them get the most out of their digital workplace.

FAQ about Microsoft Forms
What is Microsoft Forms and how does it work?
Microsoft Forms is an application in the Microsoft 365 suite that allows users to create and distribute custom forms, such as surveys or polls. It can be used to collect data, test knowledge, or analyze feedback, with a simple interface and built-in analytics tools.
How do I access Microsoft Forms?
Microsoft Forms is available to Office 365 Education customers, Microsoft 365 Apps for Business users, and those with a Microsoft account such as Hotmail, Live, or Outlook.com. The maximum number of forms and responses varies depending on the type of account.
What types of questions can I include in Microsoft Forms?
Microsoft Forms allows users to include different types of questions, such as multiple choice, open-ended responses, scale ratings, dates, and rating tables. Forms can be organized into thematic sections for better structure.
Can I customize the appearance of forms created with Microsoft Forms?
Yes, Microsoft Forms allows users to customize the form’s style to match their brand or specific organizational needs.
How can I share forms created with Microsoft Forms?
Microsoft Forms can be shared via link, QR code, email, or embedded in applications such as Microsoft Teams and SharePoint to reach a wide audience.
Which Microsoft applications integrate with Microsoft Forms?
Microsoft Forms integrates with various applications, such as Outlook, SharePoint Online, Microsoft Teams, Power Automate, PowerPoint, and Microsoft Stream. These integrations help automate processes and enhance collaboration.
How can I analyze responses collected with Microsoft Forms?
Microsoft Forms provides tools to view responses in real time using charts and tables. The data can also be exported to Excel for more in-depth analysis.
Can I create branching logic in Microsoft Forms?
Yes, Microsoft Forms allows users to create branching logic, customizing the flow of questions based on user responses.
How can I test a form created with Microsoft Forms before sharing it?
Microsoft Forms offers a preview function that allows users to interact with the form as end users would, helping to identify and resolve potential issues.
Can I collect responses anonymously with Microsoft Forms?
Yes, Microsoft Forms allows users to configure forms to collect anonymous responses. It is also possible to request identifying information if needed.
What are the response limits for Microsoft Forms?
With Microsoft Forms, Office 365 Education and Microsoft 365 Apps for Business customers can collect up to 50,000 responses per form, while users with personal Microsoft accounts have a limit of 1,000 responses for paid accounts and 200 for free accounts.
Keep on reading
Employee Engagement: Tools and Examples to Implement It


Employee engagement is the emotional bond between people and companies. Here’s how to strengthen it with the best tool: the SharePoint intranet.
Corporate training: How to manage it with Microsoft 365

From planning to tracking results, let's explore the techniques and tools to enhance the corporate training experience.
Knowledge Management: Tips and Intranet Tools for Implementation

What is meant by knowledge management? Let's see what it is and how to implement it with examples, best practices, and the best tool: the intranet.